![]()
![]()
![]()
![]()

![]()
![]()
![]()
![]()
![]()
![]()
![]()
![]()
![]()
![]()
![]()
Creating
immersive panoramas :
a "cookbook" approach
-Part 1-
This tutorial is based on the equipment I use :
a Nikon Coolpix 950 with a fisheye converter
Photoshop 5.0 on a Windows computer - I will assume that you are not very fluent with it. Photoshop 5.0 LE (bundled in Europe with the Coolpix) is also usable.
the Panorama Tools 1.9.2
plugin filters for Photoshop from Helmut Dersch, properly
installed.
It is by no mean the only method to create panoramas with Panorama Tools, but it is the one I use for a while with some success. Helmut Dersch's web site contains many useful links and tutorials describing other uses of Panorama Tools. You should also give a try to PTStitcher to assemble your image or to PTPicker (Mac) and Sascha Kerschhofer's PixelPicker (JavaScript) to help you write your script file. |
Sept. 2000 update: - Panorama Tools 2.1 is now available for Mac and PC, PTPicker can be used on both platform to choose control points and run PTStitcher - On the PC side, Joost Nieuwenhuijse wrote PTgui, a front-end for PTStitcher with a step by step process making panorama creation (almost) a breeze. This is the way I use now... This renders parts 2 and 3 of my tutorial somewhat less useful now, though it can still give some insight on the process... |
Feb. 2002 update: (adapted from PTfaq) In the 2.5b1 and newer versions of Panorama Tools, the field of view for fisheye images is limited to 160 degrees. If you are convinced that you don't violate any patents by processing fisheye images, read on: Several users have removed the limitation by recompiling Panorama Tools. Here: http://www.ueckermann.de/pano12 you will find updated pano12 files without the limitation. Further, the 2.5a version of Panorama Tools did not have this limitation. You can still download Panorama Tools 2.5a from this site: http://home.no.net/dmaurer/~dersch/Index.htm. As an alternative, you could remove the 160 degree limit by modifying and recompiling the source code which is included with Panorama Tools 2.5b2. |
1.-
Shooting.
To capture a full 360° sphere, you will need 3 photos taken with a circular fisheye (8 mm focal equivalent) evenly spaced 120° apart to get a 60° overlap between them. See here for more details on my shooting method. Two shots 180° apart should be enough, but :
it is difficult to be precise
enough if you don't use a tripod
the optical quality somewhat degrades on the edges of the
fisheye circle
more overlap between shots makes it easier to locate significant
matching points.
The Coolpix must be used in manual mode with AE/BL lock to avoid discrepancies between the photos. Even with that precaution there may still be exposure differences that must be corrected (if anyone has a good explanation on this, please keep me informed !). You may or may not use the special lens/fisheye setup of the Coolpix. If you use that setting, the focus is set to infinity, and even with the great depth of field of the fisheye you may get not so sharp images when shooting short range (indoor) panoramas. On the other hand, if you don't you will have to remember to zoom out in the widest position and disable the flash. Take care too to the exposure of the first frame that will be used for the entire panorama - especially outdoor panos where the bright sky counts for half of the photos gets easily under-exposed. The spot metering (automatic when selecting fisheye lens in the menu) may be a good solution. You may also take a photo without the fisheye aiming at the "main subject" of your panorama to lock AE/BL on the right exposure.
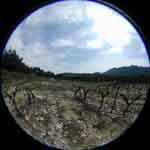
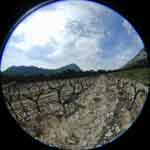
Here are the three photos I shot in a vineyard near Montpellier (France) that will be assembled.

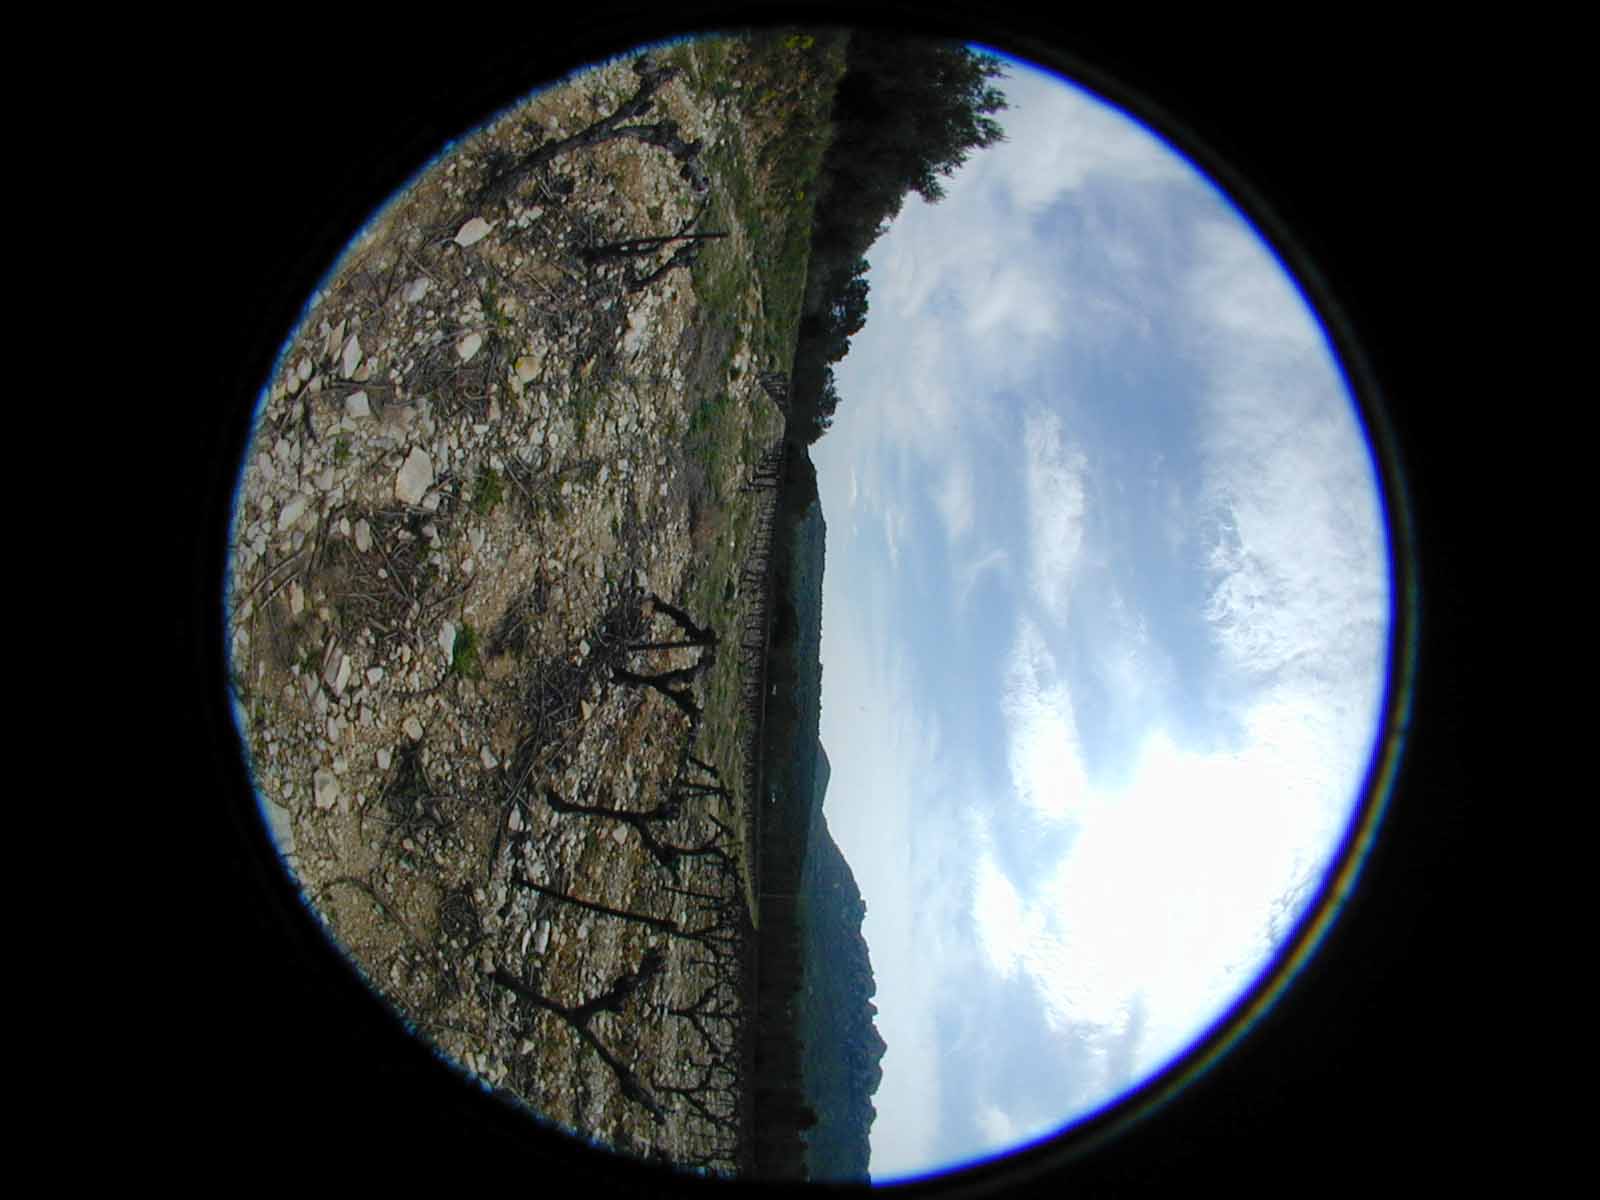

Click on the thumbnails to get the full resolution pictures (heavily compressed, 100 K each)
2.-
Preprocessing.
All you have to do is to rotate the photos (if you use my method to take the photographs, they are in portrait mode), then frame the image circle and crop to a square. Add then a new layer that will be used to mark corresponding points (see step 3).
I use a Photoshop action to do all this automatically. You can get it here but you will have to adapt it to your Coolpix since the exact position of the image circle depends on the alignment of the CCD sensor (It may even happen that a part of the image is missing. If this problem is severe, send back your camera to Nikon service, they will reposition the CCD). Here is the sequence :
Image menu / Rotate Canvas / 90° CCW
Double click on the marquee tool to show this tool options. In the options, chose style = fixed sized, width = height = 1158 pixels
Click on the image to show the selection, then move it so that it is centered on the image circle
Image menu / Crop
Layer menu / new / layer (or press Ctrl - Shift - N or click on the new layer icon of the layer palette)
If you don't find one of these palettes, press Crtl-K, then click on the button "Reset palette locations to default" |
You should be there now :
![]()
![]()
![]()
![]()
![]()
![]()
![]()
![]()
![]()
![]()
![]()
![]()
![]()
![]()
![]()